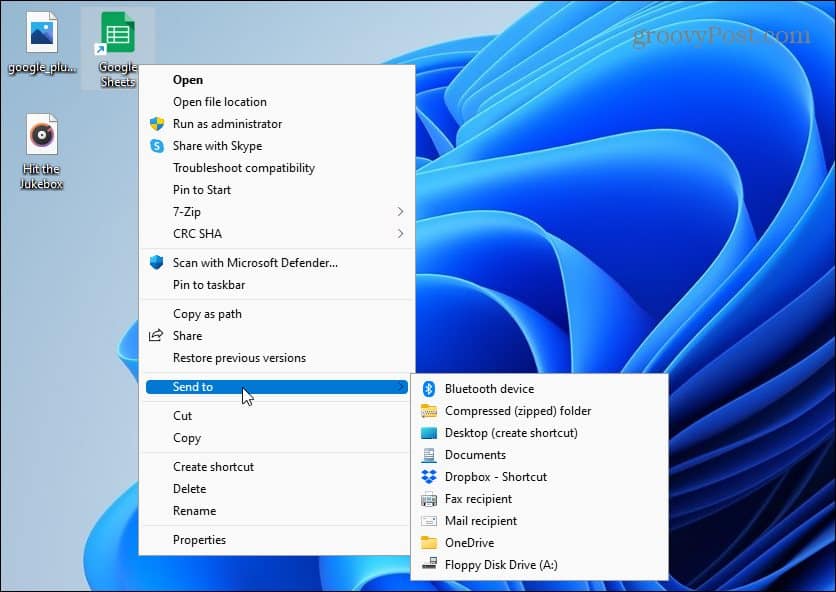
Here’s a look at how you can restore the Windows 10 context menu in Windows 11 Home or Pro.
Get the Old Context Menu Back on Windows 11
Here is an example of the new Context Menu on Windows 11. You can still get the classic menu you’re looking for, but you need to do an extra click of “Show more options” or use the keyboard shortcut Shift+F10.
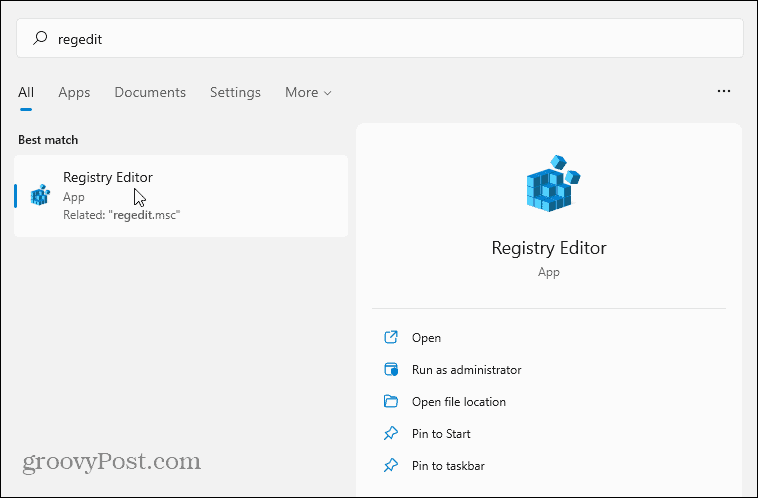
To get started hit the Windows key on your keyboard or click the Start button. In the search bar, type: regedit and hit Enter, or choose the Registry Editor result from the search list.
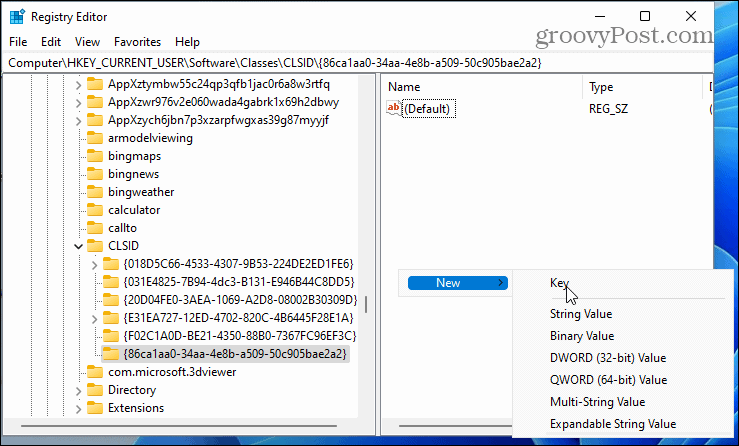
Next, head to the following path in Registry Editor. Note that you can copy and paste it in the address bar to get there more quickly than expanding each key individually. Now right-click an empty area in the right section and go to New > Key and paste in the following:
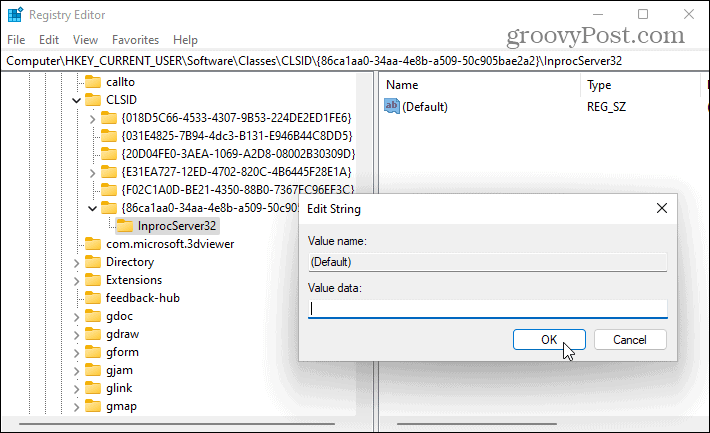
Next, right-click on the key you just pasted in and go to New > Key and name it: Double-click the default key under InprocServer32 to open it. Don’t enter a value – close it. That will make the value entry blank instead of “Value not Set.”
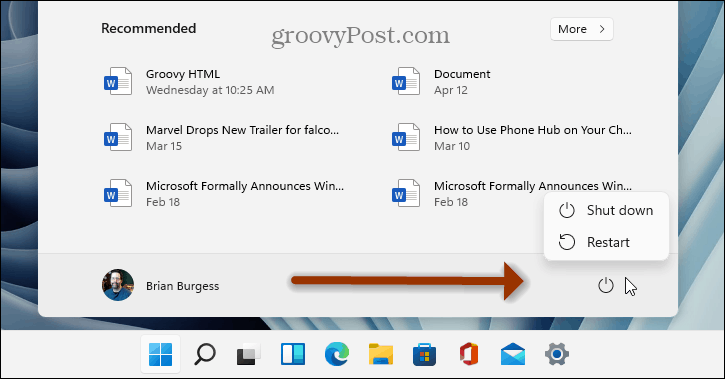
You’re almost done. Exit the Registry Editor and restart your Windows 11 PC.
Using the Windows 10 Context Menu in Windows 11
After you restart your PC, right-click a file — you’ll find the familiar context menu that you’re used to. The same context menu will appear when you right-click files in File Explorer, too. You won’t need to go through the extra step of clicking “Show more options” from the new simplified menu.
And for more on the new Windows 11 OS, check out our article on customizing the Windows 11 Lock Screen. Or take a look at ways you can customize the new taskbar. If you’re still running Windows 10, take a look at adding the Quick Launch Bar to the Send to Context Menu. Comment Name * Email *
Δ Save my name and email and send me emails as new comments are made to this post.
![]()


