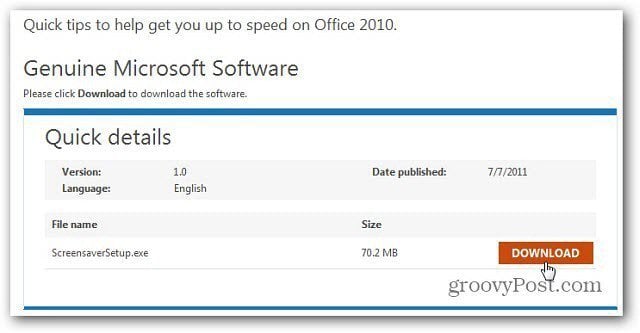
First, download the Office 2010 Getting Started Screen Saver from the Microsoft Download Center.
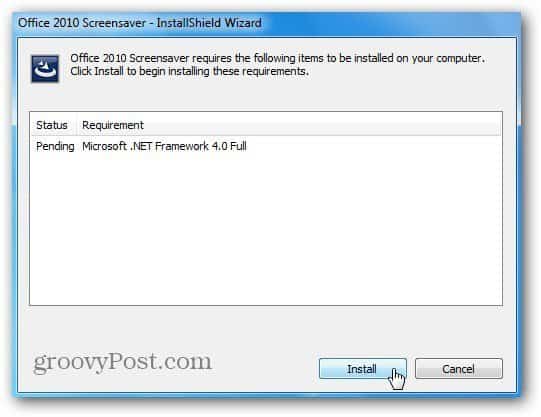
After the installation file downloads, go ahead and start installation. During the install process, Microsoft .NET Framework 4.0 Full will be installed for you first – if not already installed.
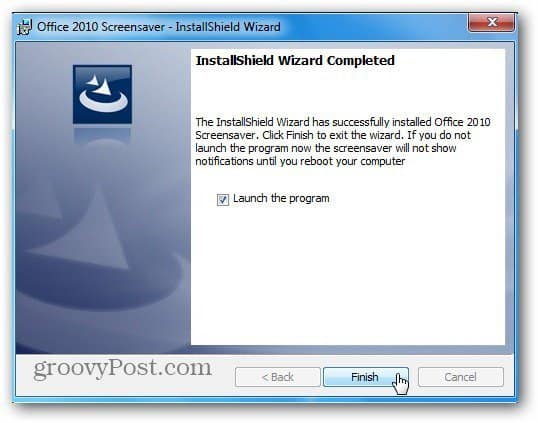
After the installation of .NET Framework is completed, continue with the screensaver install wizard.
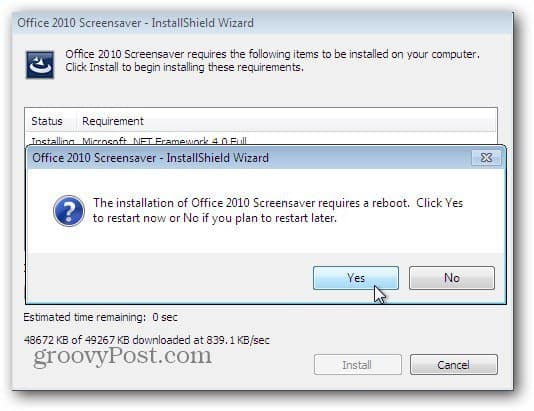
Depending on your system setup, a reboot may be required. The first machine I installed it on was completely up to date and no reboot was required. Here I installed it on a fresh install of Windows 7 and it did require a reboot.
Note: After the MS .NET Framework 4.0 is installed, you’ll need to install the latest Windows Updates for it.
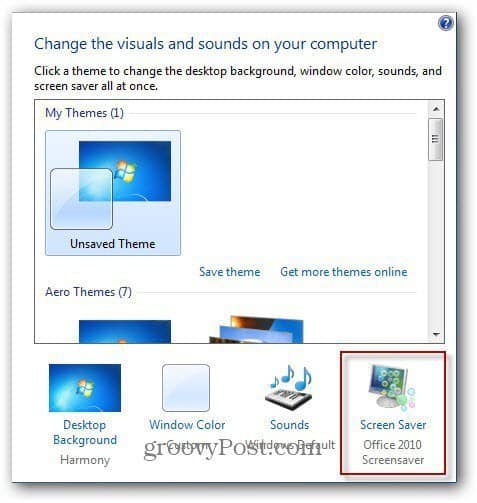
Right click on the desktop and click Personalize. You’ll see the screensaver is set to Office 2010 Getting Started.
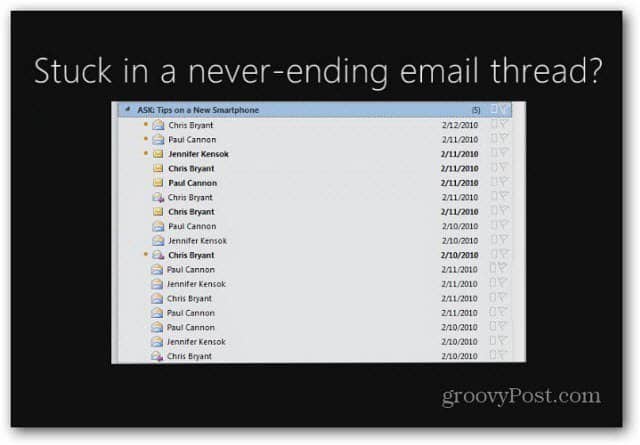
Now you’ll be able to check out 60 to 90 second tips provided from office.com when the screensaver starts. Here are a few screenshots of the tips and tricks you can expect.
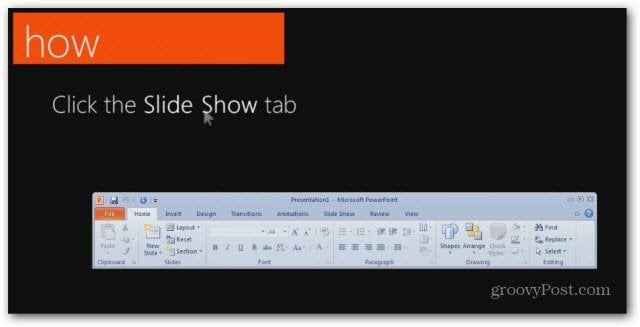
The screensaver acts like a PowerPoint presentation. It shows a variety of getting started tips for each Office 2010 program in the suite.
This is a handy method to help you learn new tips for using Office 2010.
Comment Name * Email *
Δ Save my name and email and send me emails as new comments are made to this post.


![]()
